Snowboarding is an exciting way to enjoy the winter season but it can also put a lot of stress on your knees. If you’ve experienced a knee injury, getting back on the board might feel daunting. The good news is that with the right approach, you can recover and return stronger than before.
Understanding how to care for your knees during recovery is key to avoiding setbacks and staying safe. Whether you’re dealing with a minor strain or a more serious injury, there are steps you can take to support healing and rebuild strength. Let’s explore how you can navigate knee injury recovery while keeping your snowboarding dreams alive.
Understanding Knee Injuries in Snowboarding
Knee injuries rank among the most common setbacks you might face on the slopes. Knowing the types and causes of these injuries helps you take steps to protect your joints and recover better.
Common Types of Knee Injuries
- Anterior Cruciate Ligament (ACL) Tears disrupt the ligament that stabilizes your knee, causing instability and pain.
- Meniscus Tears involve damage to cartilage that cushions your knee, leading to swelling and limited motion.
- Medial Collateral Ligament (MCL) Sprains strain the ligament on the inner part of your knee, often due to sudden twisting motions.
- Patellar Tendonitis results from overuse and stress on the tendon below your kneecap, causing aching and tenderness.
- Knee Contusions and Bruises occur from direct impact, leading to pain and swelling around the joint.
Causes of Knee Injuries on the Slopes
- Falls and Collisions apply sudden force to your knees, especially during jumps or high-speed runs.
- Twisting Motions happen when your feet stay planted but your body rotates, stressing ligaments like the ACL.
- Improper Landing Techniques increase the load on your knees and can tear ligaments or cartilage.
- Fatigue reduces your control and reaction time, making your knees more vulnerable to injury.
- Inadequate Equipment or Fit such as boots that don’t support your ankles properly, can shift stress to your knees.
Initial Treatment and Diagnosis
Getting the right treatment quickly helps you bounce back from a knee injury and get back on your board sooner. Knowing what to look for and when to act makes all the difference.
Recognizing Symptoms
Watch for swelling, sharp pain, or instability in your knee. Notice if you can’t bend or straighten your leg fully. Feel any popping sounds during your fall or movement? These signals often point to ligament tears or meniscus damage. Lingering soreness or tenderness after a ride also signals you to take a break and evaluate your knee.
When to Seek Medical Help
Visit a healthcare professional immediately if your knee swells rapidly, feels unstable, or you can’t put weight on it without severe pain. Slow-healing pain or persistent stiffness after a few days calls for medical advice to avoid worsening your injury. Don’t delay treatment if you notice any locking or catching sensations in your knee during movement.
Diagnostic Methods
Medical experts use physical exams to check your knee’s stability and range of motion. Imaging tools like X-rays rule out bone fractures, while MRI scans detect ligament tears, cartilage injuries, and inflammation. Accurate diagnosis guides your recovery plan, ensuring you target the right areas for healing and strength rebuilding.
Recovery and Rehabilitation Process
Recovering from a knee injury takes dedication, especially when snowboarding is your passion. Following a clear rehabilitation plan gets your knee back in shape and helps you return to the slopes safely.
Rest and Immobilization
Start recovery by resting your knee to reduce swelling and pain. Use ice packs for 15-20 minutes every 2-3 hours during the first 48 hours after injury. Rely on crutches or a knee brace if advised by your doctor to limit movement while healing. Avoid weight-bearing activities until your medical professional clears you for them.
Physical Therapy Exercises
Include gentle range-of-motion exercises early in rehab to prevent stiffness, such as leg slides and heel slides. Progress to strengthening exercises like straight leg raises and mini squats once pain decreases. Focus on controlled movements and increase intensity gradually. Consistency with physical therapy sessions speeds up progress and restores knee function.


Importance of Strength Training
Prioritize strength training to rebuild the muscles that support your knee, including quadriceps, hamstrings, and calves. Add balance and stability drills to enhance joint control on uneven terrain. Regular strength training reduces the risk of re-injury and boosts performance once you hit the snow again.
Preventing Future Knee Injuries
Preventing knee injuries keeps you on the slopes and enjoying snowboarding longer. Use proven strategies that protect your knees without sacrificing your passion for the sport.
Proper Snowboarding Techniques
Mastering your form reduces the strain on your knees during every run. Bend your knees slightly to absorb shocks and avoid stiff legs that transfer impact directly to your joints. Control your speed and make smooth, controlled turns instead of sudden twists. Land jumps with knees bent and aligned over your toes to distribute force evenly. Practice proper fall techniques to minimize knee twisting and hyperextension.
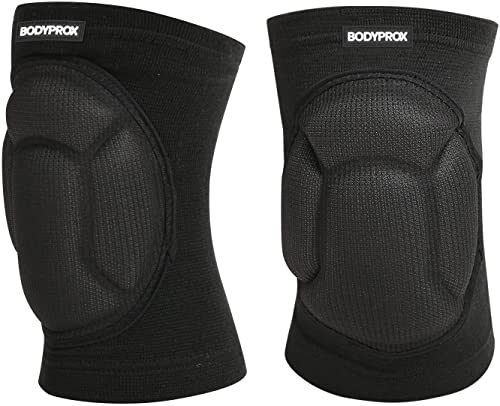
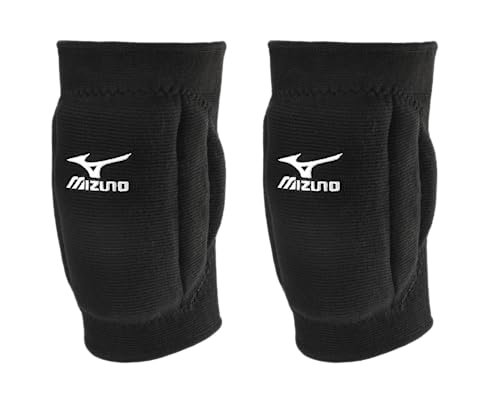
Using Protective Gear
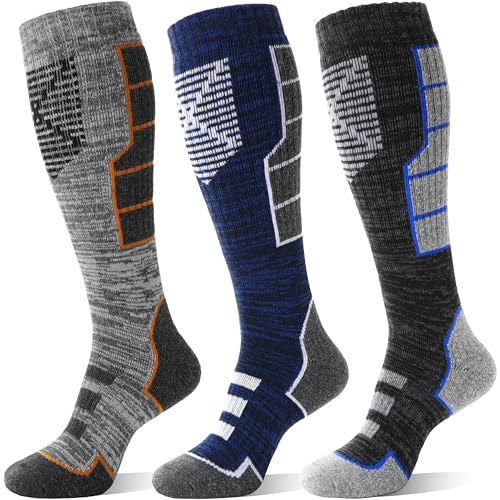
Wearing knee braces or pads absorbs impacts and stabilizes your joints on tricky terrain. Select gear designed specifically for snowboarding that fits comfortably and allows full movement. Helmets, wrist guards, and padded shorts also protect against falls but knee protection targets the most vulnerable area. Check your boots for proper support and fit to maintain knee alignment throughout your ride.
Conditioning and Warm-Up Routines
Building strength and flexibility prepares your knees to handle snowboarding stresses. Regularly perform leg exercises like squats, lunges, and hamstring curls to reinforce muscles around your knees. Incorporate balance drills on uneven surfaces to improve joint control during sharp movements. Warm up with dynamic stretches before hitting the slopes, such as leg swings and walking lunges, to increase blood flow and reduce stiffness. Cooling down with gentle stretches helps maintain flexibility and prevent tightness after your sessions.
Returning to Snowboarding Safely
Getting back on your board after a knee injury requires patience and a smart plan. Taking it slow helps rebuild confidence and keeps your recovery on track.
Gradual Progression Strategies
Begin with low-impact exercises that restore knee mobility. Focus on balance drills and light strengthening before moving to on-snow activities. Incorporate short, easy runs on gentle slopes to test your knee’s response. Increase difficulty and duration step-by-step only after your knee feels stable and pain-free. Avoid rushing into advanced terrain or tricks, as sudden strain risks setback. Consistent progress builds strength and reawakens muscle memory, so plan each session with realistic goals.
Listening to Your Body
Pay close attention to knee signals during every session. If you notice swelling, sharp pain, or instability, stop immediately and rest. Never push through discomfort that affects movement or increases swelling. Daily self-checks for tenderness and stiffness prevent worsening injury. Adjust your pace and exercises based on how your knee feels, balancing effort with recovery. Trusting your body’s limits ensures a safer, longer return to the snow you love.
Conclusion
Getting back on your snowboard after a knee injury takes time and patience, but it’s totally doable. By listening to your body and following a thoughtful recovery plan, you’ll build the strength and confidence you need to enjoy the slopes again.
Remember, staying proactive with your technique and conditioning helps protect your knees long-term. Keep your passion alive and take it one step at a time—you’ll be carving down those hills before you know it!