If gliding over snow-packed mountain trails is your thing, you would likely own a snowboard. Having your own snowboard saves you from the whole process of renting it every season and allows you to go snowboarding any time. But, this ownership comes with a few responsibilities too. Waxing your snowboard is one of them.

While you can take the board to a local snowboard shop and have it waxed, it’s worth knowing how to wax a snowboard yourself, too, because you need to do it after every three to four days of riding. You should also wax your snowboard at the end of the season to make sure it remains in good condition. Learning to DIY can help you save some money, especially if you’re a snowboarding enthusiast, and make the most of the snow season by regularly going snowboarding.
Keep reading as we give you step-by-step directions for waxing a snowboard at home. But, before we do that, let’s take a quick look at the things you’ll need for this DIY project.
What You’ll Need to Wax a Snowboard at Home?
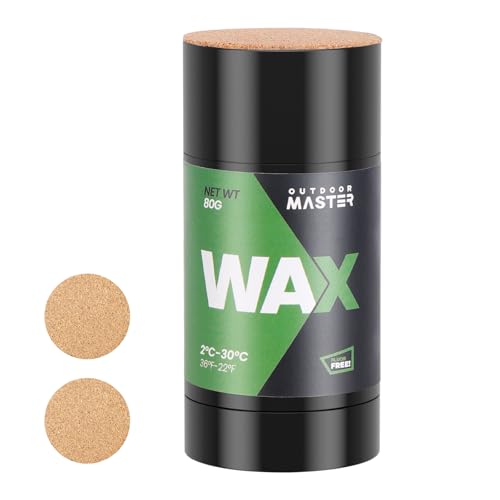
The tools and supplies you will need for waxing a snowboard at home include:
- Wax (of course)
- Base cleaner/ rubbing alcohol
- Plastic scraper
- Screwdriver
- Structuring brush
- Waxing iron
- A piece of cloth
7 Steps to Wax a Snowboard at Home
Here’s a step-by-step guide for you to wax a snowboard at home like a pro:
Step 1 – Loosen or Remove the Bindings
This is the most overlooked step in DIY snowboard waxing projects and is often the reason why many people end up damaging their snowboard in an attempt to keep it in good condition for long. Make sure you don’t make this mistake. Loosen (ideally remove, so you have a smooth surface to work on) the bindings from your snowboard before you start working on it.
In case you’re wondering why it’s important, heat can make the screws of binding suck small divots into the board base, causing permanent damage.
Step 2 – Clean the Snowboard
Start by removing any visible dust and dirt using a piece of cloth. Next, use a base cleaner or rubbing alcohol to remove any old wax. This is important to make sure the fresh wax goes smoothly, is absorbed properly, and sticks to the board surface well.
Don’t forget to give the base a good wipe once again.
Step 3 – Apply the Wax
Heat the waxing iron. It should be hot but not smoking; check the wax packet for temperature recommendations. Once it’s hot enough, hold it carefully with one hand a little above your snowboard base and the wax in the other hand pressed on the iron base. As the wax begins to melt and fall onto the base, move it around to cover the entire base. While there is no fixed pattern for this, it’s recommended to start from the edges and then fill the center of the board by going in a zigzag pattern. Your goal here is to apply as even a coating of wax as possible all across the base of your snowboard.
Step 4 – Spread and Smoothen the Wax with Iron
Now it’s time to iron your snowboard. Don’t fret; it’s just like ironing your clothes, except that you’re looking to spread the wax evenly over the board instead of removing wrinkles. The key to getting it right is to use small, circular motions and work on one little area at a time. Another useful tip is to keep the iron moving to prevent overheating and damaging the board.
Step 5 – Let It Set
Set your snowboard aside for about half an hour, and let the wax cool down and set.
Step 6 – Get Scraping
Hold your plastic scraper at a 45 degrees angle and scrape the board lengthwise, going from nose to the tail, to remove the excess wax.
When you’re waxing the snowboard yourself for the first time, it can be a little tricky to determine how long you need to keep going or how much you should scrape. Experts and seasoned snowboarders say that you should continue scraping until there’s no visible wax left on the board and you have an even and smooth surface.
This step may seem counterproductive, and you may think about the point of applying the wax if it had to be removed. But, don’t worry; the wax has done its job.
Don’t forget to scrape the wax off the edges too.
Step 7 – The Final Stroke
It’s time for the final stroke to make your freshly waxed snowboard shine. You need the structuring brush for this purpose. Working from nose to tail, brush your board firmly, giving each area three to four hard strokes. If you didn’t already guess it from the name of the brush you’re using – structuring brush – this step will help add structure to your snowboard, which makes it run smoother and faster.
Our Final Thoughts
Learning to wax a snowboard is worth it for regular snowboarders. Although it may seem that getting the supplies will cost you just as much (if not more) as getting the snowboard waxed by a professional, it will help save you some money in the long run. Remember, you should wax your snowboard every three to four days to keep it in good working condition for long.
The cost of getting it waxed from a shop that frequently can quickly add up, especially if you live in a very cold region where it snows a lot and for longer. Moreover, it’s just more convenient to wax your snowboard yourself than carrying it to the shop every few days. And as far as the waxing process is concerned, you’ll get the hang of it in no time.
Image Credits
Photo by Joshua Reddekopp on Unsplash


