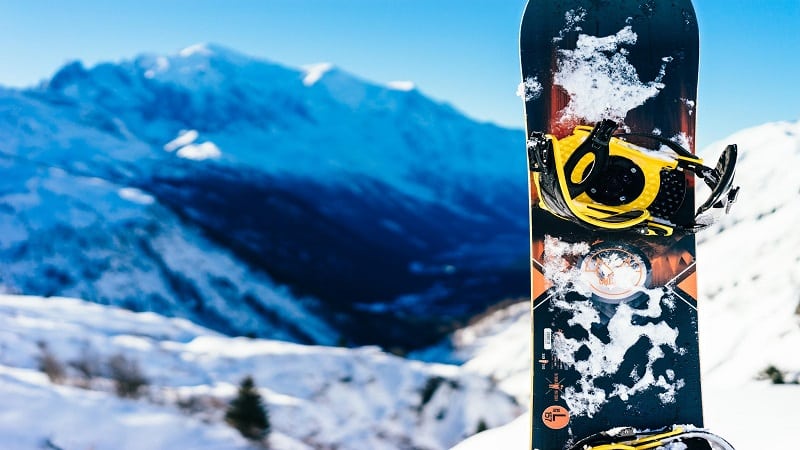
Maintaining your snowboard’s edge sharpness is essential for performance and safety. The edges of your snowboard aid you in carving clean turns, gaining speed, braking, and performing other important snowboarding moves.

Dull edges make it more difficult to cut and “grab” the snow, limiting your ability to maintain control. The steeper the slope, the greater the amount of grip required, and the sharper your edges need to be. Even if you take good care of your board, the edges will inevitably dull with use. It is also possible to nick small rocks and pebbles that are buried and mixed in the snow, causing slight damage to the edge of your snowboard.
How to Know When your Snowboard needs to be Tuned or Edged?
You can find out if you need to sharpen your snowboard edges by running your fingertips down the edges of your snowboard. If you find your snowboard’s edges are dull, have become rounded instead of sharp, have gotten visible abrasions, and have become burred, your snowboard needs to be tuned. For more regular snowboarders, sharpening is recommended at least twice a month.
How to Edge a Snowboard – A Guide
If you have the time and money, you could take it to your snowboard shop and have it tuned professionally. On the other hand, doing it yourself isn’t too challenging. If you edge your snowboard at home, you will not only learn more about your board and snowboarding in general. However, if done regularly, your snowboard will remain well-maintained, and your board’s life will be extended.
Remember, if you plan to also wax your board, the sharpening and tuning process should be completed first. We would also recommend sharpening your snowboard in your garage or outdoors because of the mess that shaved edges can make.
What You’ll Need to Edge Your Snowboard at Home:
To make this process as easy as possible, you could buy a snowboard sharpening or tuning kit, but those can be pretty pricy. Even if you don’t want to purchase a snowboard sharpening kit, you can edge a snowboard with the following tools.
- Screwdriver
- Snowboard Edging tool or File and Guide (A good ski or snowboard edging tool has a built-in guide that allows you to keep the correct angle)
- Vise (Optional but Recommended)
- A Marker
- Gloves and Eye Protection
- Steps to Edge your Snowboard
Remove Your Bindings
The first thing to do to edge a snowboard is to take all the bindings off, or at least loosen the screws of your bindings. Grab your screwdriver and unscrew the bindings. The bindings just get in the way of the actual work you want to do and can also cause damage or accidents, so it is best to remove them.
Secure Your Snowboard on a Vise
If you have a vise, secure your snowboard with the base facing upwards. There are lots of affordable and good-quality vises available in the market today. These vises will just make the overall process a lot easier as your board will be fixed and secured correctly, allowing you to work on it without the board moving around. A vise also helps prevent any scratches or damage to the board.
Adjust Your Edge Sharpener to the Correct Angle
An adjustable snowboard edge sharpening tool is very affordable and easy to use. If not, you could use a file guide and a clamp to work on your snowboard. Before you get to work on sharpening the edge, you first need to know what angle your board is set at. Usually, the standard angle is 90 degrees for beginners and intermediate-level snowboarders.
Start Sharpening the Edges
Before anything, it is important to wear gloves and eye protection when working with metal edges. Even if you can’t see them, microscopic metal burs can puncture your skin with ease. Once you have the suitable protection, it is time to start sharpening your snowboard edges.
First, take a marker and mark down the edges of the board. These marks will allow you to keep track of your progress and to know what parts of your snowboard you have already finished and what’s left.
Sharpen the Base Edge
Make sure your board is flat, and start with the base edge. You should begin the sharpening process at the board’s nose, where the board is wide and slowly work down towards the tail. Make sure your movement is in one direction, smooth, and gentle. Your strokes should stop at the broad points of the board, right before the board curves into the tail. The ends of your snowboard don’t need to be sharpened. Also, ensure that the guide is level with the side edge and the file is completely flat on the base.
Sharpen the Side Edge
Once you are satisfied with the base edge, it is time to work on the side edges. Again, make sure your tool or file is adjusted to the correct angle before you start sharpening your snowboard. On the side, you should again start filing where the board is wide near the nose and work your way towards the tail. Again, keep it smooth and gentle, and apply constant but slight pressure to sharpen your board. Continue following the edges until the lines you drew with the markers have disappeared.
Finalize Your Snowboard’s Edge
When you are sharpening your board, pay close attention to what parts are causing friction and causing your tool to ‘stick.’ These areas might need extra attention and extra effort to smooth out and sharpen correctly. You might have to file and sharpen these areas multiple times and go over them to sharpen them completely.
Once you are happy with the result, run your fingernail down the edge of your board to ensure it is sharpened well. If there is nail residue left behind on the board’s edge, you have sharpened the board well. Just be careful and don’t cut yourself.
Our Final Thoughts
Learning how to edge a snowboard is an essential skill that every ‘regular’ snowboarder should have. Learning to maintain and work on your board yourself will not only save you money in the long run, but it will also help strengthen your love for snowboarding!


